Snow Days *

We’ve had a very nice string of snow days and cold weather here, which has been the perfect excuse to work away on the trailer! FINALLY! I am so excited to show the progress we have made, and it totaled 4 days of work! (More like 3 1/2)

First thing we had to do was finish up the drywall and muding process. If I never see drywall again I will be a happy camper!


While we waited for the mud to dry and Ben ran off on errands, I got to work with sanding the floors down once and for all.

There was this patch in the floor that was coming up and could cause some major splinters, so we tore it up and patched it with the original trim we ripped out of the trailer.

fb_img_1450145258016.jpg

Seemed to do the job just fine, and it was seriously the perfect fit! So far, we’ve gotten away with working with a lot of recycled materials and its been able to keep the costs low.

One thing we may have an issue with, and this has just come to mind recently, is that the drywall may have a hard time staying put if the trailer is going to be mobile often. Once we have more structures built into it, such as the kitchen etc, it may not be an issue. I guess time will tell and much like most I do in life, this too is just going to be trial and error . 🙂

Okay, so drywall and floors completed! Next thing I went to work on was priming and painting! Even tho my arms usually want to fall off by the time I am through, I kind of enjoy painting. Its relaxing. And no, this does NOT mean I will help paint your house for you 😉 okay I might.


All of these small details started to come into play, and they needed to be dealt with. SO. If you look back up to the first picture, you can see in the corner is a big silver piece of foam board. — We cut it to sizes, skinny long strips, and used it to insulate the gap where the wall and ceiling meet. That area will be covered by some ceiling trim and may also put up LED lighting there too… Time will tell.

I then went thru and spray painted the area black… The small spot at the top where the yellow foam is showing is kind of an eye sore, so I made it match the black metal for now, until we decide how that will be covered.


Next order of business was staining the floors! YAY! And cleaning up some more areas. Behind the pulley bar for the back door, is a lot of messy over spray, and it’ll be built in (one day) but we took the time to clean it up, and I also spray painted it black to make a cleaner look for now.


All of that took 3 days.

All was fine and dandy, until about 2 days ago I mentioned to Ben while trying to get to world 7 on Super Mario, that it would be nice if this bed had a frame, even if temporarily built on some 2×2’s, but it would be better than mattress on the ground.

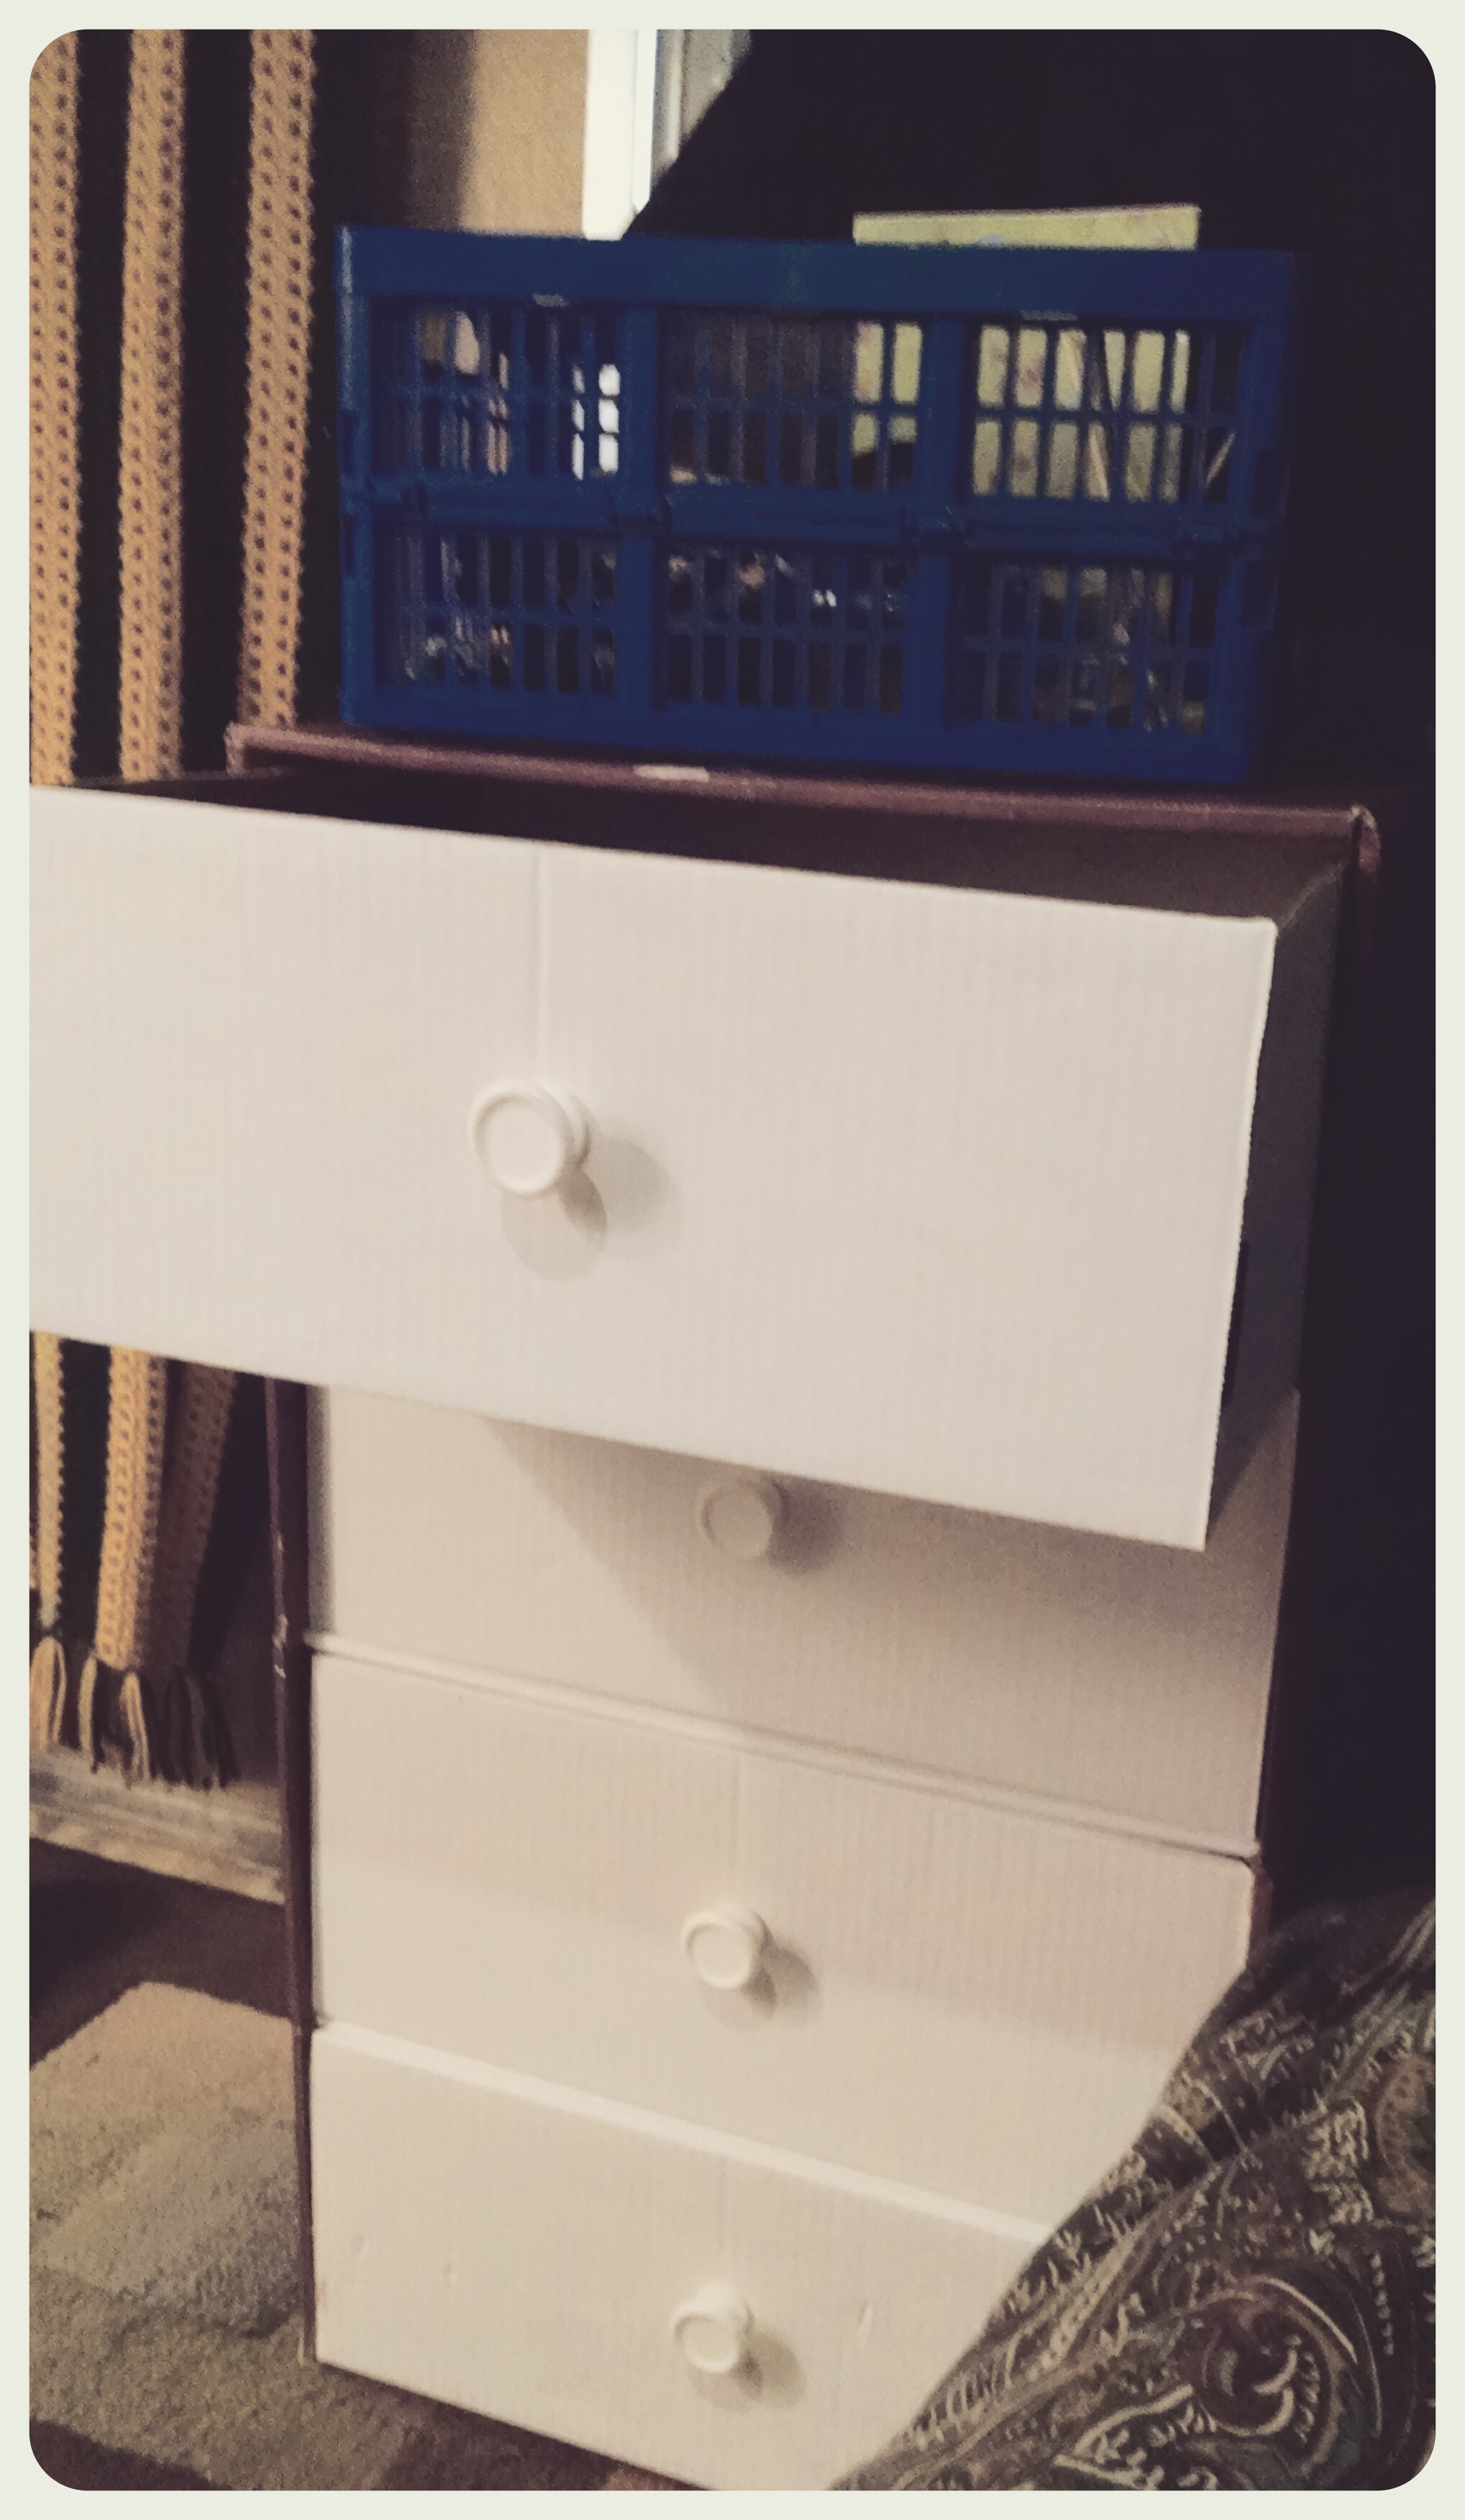
Being the doer he is, he ran off to get the lumber needed and we spent the afternoon making the bed frame, sizing the storage that will go underneath, and even made cubby holes to access by lifting the mattress.

Oh, another cool feature is he made it to fit a queen bed, but also made it easily adjustable to fit a double, in case we decided to downsize on mattress size. (Its a tight squeeze with a queen)

img_20151220_175934908.jpg

Finished (?) product 🙂

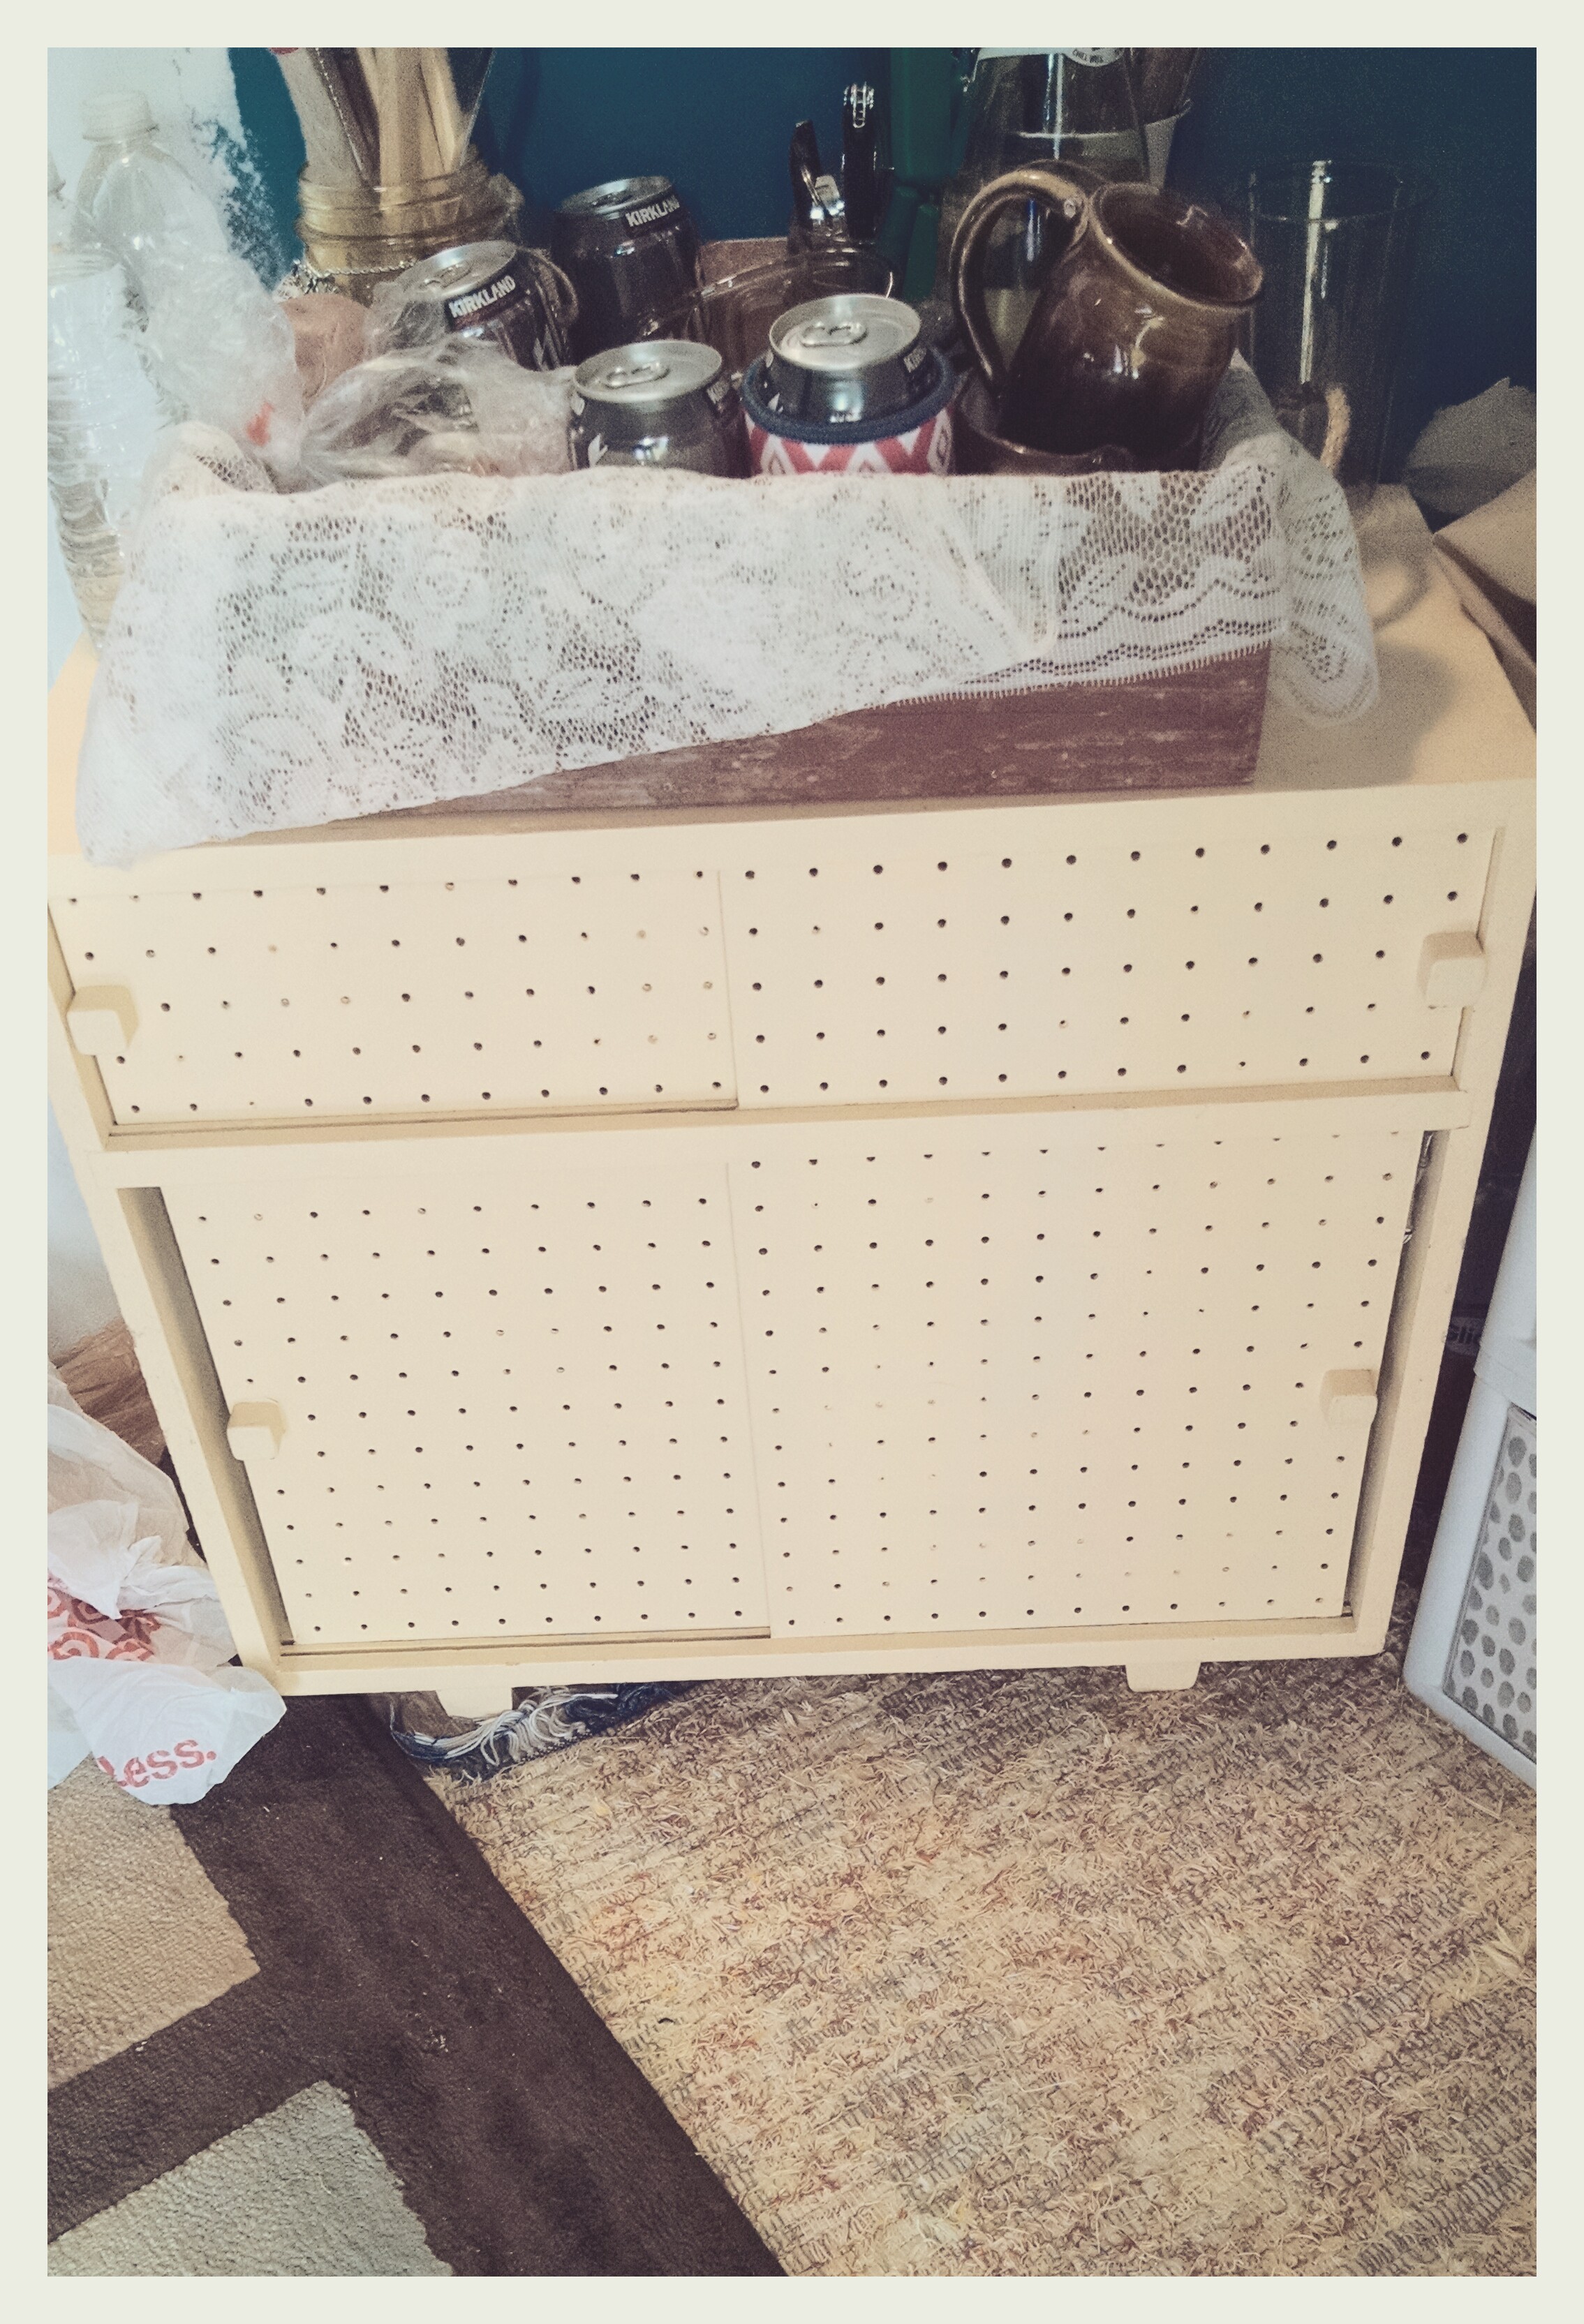
I lifted the lace I have to show you how its lifted, it raised the mattress 14 inches off the ground and it makes a WORLD of a difference. The other half is still a cluster of stuff, but its looking better now that I can store under the bed! And it is all VERY organized and neat!  🙂

It is difficult to get used to the new temperatures at our new elevation 😉 but in all seriousness, it makes a world of a difference and we are struggling to find a new happy medium on the radiator!

img_20151222_181052608_hdr.jpg

Our little holiday shrine 🙂

Happy Holidays everyone! Seasons Greetings and a Happy New Year!


Peace and Love ❤

New? Furniture Ü

I have FINALLY found something to house my food/pantry! #yay!

I have been slowly browsing thrift stores around me looking for just the right piece to function for whatever I need it for. I’ve been looking for something to hold our food that would normally go in a cupboard or pantry, and something to go right next to our door/bed to double as a night stand and hold all of the “extras”.

Mission completed.

wpid-img_20151108_222221.jpg

The Kirkland beer you see in the picture is leftover from the wedding… We’re working on it! It’s a slow process when you don’t drink beer on the regular

If you can see, the doors slide both ways, it’s very light in weight and I LOVE the pale yellow color! (Yellow is one of my favorite colors, so happy) AND it matches my rug PERFECTLY, so that makes a double win 🙂

The rug its partially sitting on is yellow as a base color, then has many other colors woven in as well. It was made by the Amish of Wisconsin, close to my parents place, and I got it on a visit there years ago. It’s one of those pieces that will probably stick around for a long time.

wpid-img_20151108_222348.jpg Here is the other piece I found, with my blue “catch-all” basket sitting on top of it. ( I also have a hook that our coats call home right above the blue basket)

This drawer cracks me up tho! IT IS CARDBOARD! I have NEVER seen the like before, but it’s so awesome! So much so, that I had to make mention of it to the lady behind me in line at the Goodwill, she didn’t seem as pumped as I did, but she at least gave me what I can only call pity excitement.

I don’t care, it’s so awesome! It’s so great because I didn’t want to spend the money on something that I may not have for a long time, well I can recycle cardboard easily in SO many ways! The possibilities!

The other piece isn’t going anywhere tho. I am planning on keeping that one around, I just think it’s pretty unique and I will probably not find one like it again.

I forgot the BEST part! …  and I am just going to mention one of my greatest pleasures in life is being able to find a really good deal …

There was a 50% off sale on Saturday (when I went to buy the items) …. The first one was a total of $1.50 and the cardboard drawer was $2.00.

Seriously.

. . . . .

My nose is very very sensitive to smells. Not in a bad way, I can just smell you, or that thing, or “insert scent here”, from a mile away. If it’s a dank enough smell it might send my gag reflexes going.. Courtesy of my mom’s side of the family 🙂

My favorite smell is the wind. I loved gym class growing up in the fall and spring time when we were able to go outside, because when we would come back in… You can smell the air, earth, and wind on your skin and hair. It’s a different smell than lined dried clothes, but that one is still ranked up there.

My second favorite smell is pine, actually, probably tied for first. But that smell, the pine and the needles covering the ground and the way it silences your footsteps. It reminds me of going to the Upper Peninsula Michigan when I was a kid to visit my grandparents camp on Lake Superior, and my other grandparents home. It’s been quite a long time since I’ve gone to the UP but it is absolutely BEAUTIFUL country up there, gorgeous! They call it Gods Country up there for a reason.  Anyways, I digress, I love the smell of pine.

SO!

All of this talk about smells is leading somewhere.  I went to the car wash the other day and they gave me a free air freshener, looks homemade somehow, and I picked the pine scent, but it looked like they also had an “air” smell. Next time. But my car smells so good I could live in it.

That was all.

NEXT order of business!

–SO. I HATE waste, and I really have been trying to minimize my carbon footprint, but in our current situation we don’t have a fresh water tank / running water set up in the trailer. (It will be coming just not yet). In the mean time we have been buying water either by the gallon or just recently in cases of water… and I KNOW I KNOW that is really bad for the environment, so this is why I’ve been looking up ways that I can recycle and re-use the bottles we will end up going thru!

My favorite ideas from one of the lists I found were…

  • Little greenhouses / Planters for plants
  • A vertical plant stand which you can use your grey water for it to grow plants like lettuce etc. Something that will be good for the kitchen etc.
  • Curtain/ Door sheer by painting the bottom of the bottles that are cut off
  • Making designs from the different colored bottle caps

http://www.boredpanda.com/plastic-bottle-recycling-ideas/

http://www.onegoodthingbyjillee.com/2015/06/31-creative-ways-to-reuse-plastic-bottles.html

45 Ideas of How To Recycle Plastic Bottles

(All of these links found in a simple google search)

Maybe I’ll think up a few new ideas to use the bottles for, but I don’t want to recycle that many away, it’s more of a challenge to be creative and see what I can come up with.

Altho sometimes I tend to get obsessive and that’s all my time will end up consisting of… hope that doesn’t happen this time 🙂